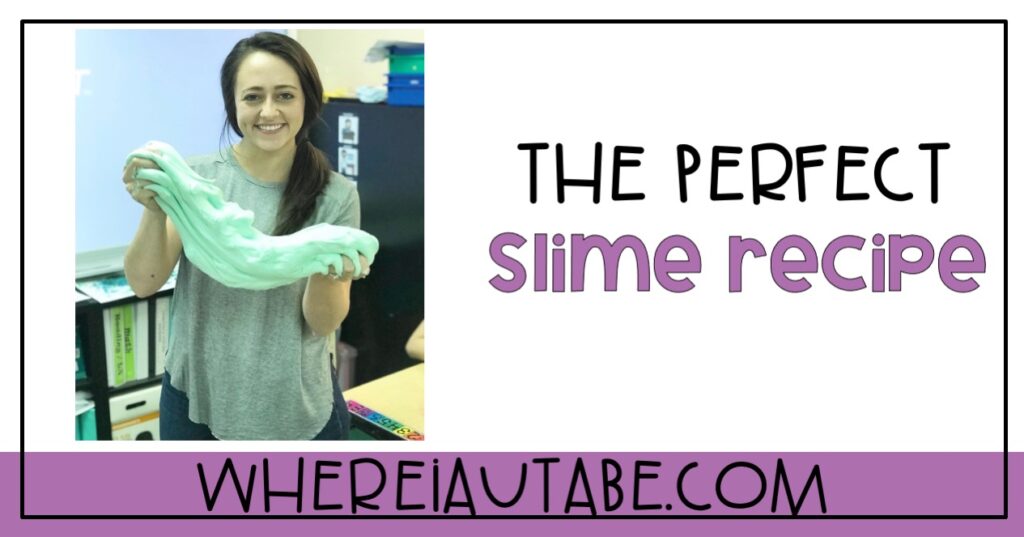
Did someone say slime? I’ve got the perfect slime recipe for you! We all know there are two types of teachers in this world, those who make slime in the classroom and those who do not. I happen to fall under the slime teacher category. Sure it gets messy, but in my opinion it is so worth it for the sake of meaningful sensory play. Over the years I have perfected my slime recipe and I’ll be sharing it with you below!

Ingredients Needed
- Liquid glue (Elmer’s is preferred)
- Water
- Baking Soda
- Food Coloring
- Contact solution (must contain boric acid to activate ingredients )
Directions
- Step 1- Pour 2/3 cup white or clear liquid glue into a bowl
- Step 2- Add 1/4 cup water into bowl
- Step 3- Add 1 TSP baking soda into bowl
- Step 4- Mix
- Step 5- Add food coloring of your liking into bowl
- Step 6-Mix
- Step 7-Add 1 TBSP contact solution into bowl
- Step 8-Mix (this step can take several minutes of mixing. the contact solution takes time to activate all ingredients)
Note: If it’s still too sticky after many minutes of mixing. Add another TBSP of contact solution and mix for several minutes. Repeat this step until you get the consistency of your liking!
Here are a few add ons that we have tried in my classroom. Changing your slime recipe up from time to time can help keep slime exciting and fun

Slime Add Ins
- scissors to cut the slime for some fine motor practice
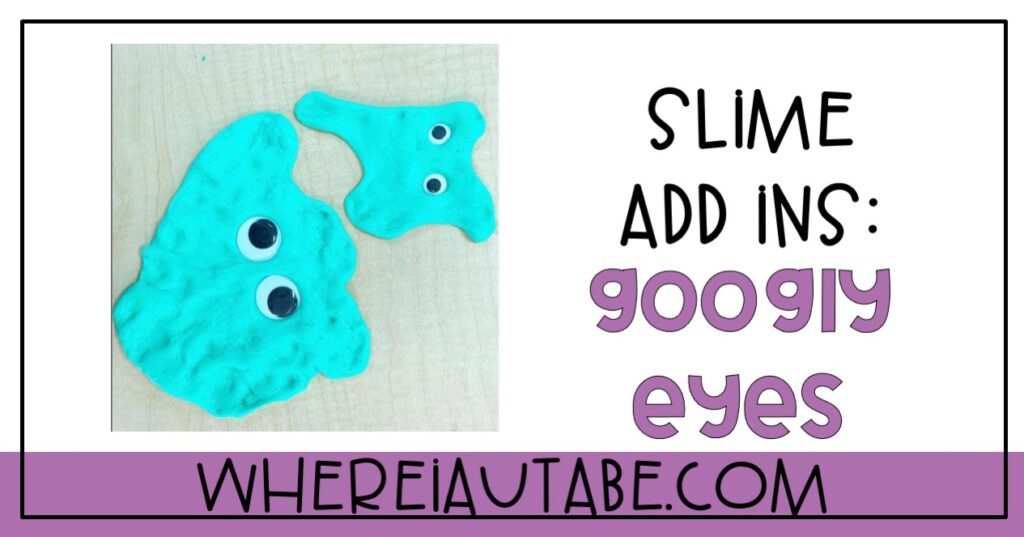
- -googly eyes (especially around Halloween) for spooky slime
- -sequins
- -animal figurines
- -glitter
- -plastic beads
- -glow in the dark liquid glue (instead of regular liquid glue)
Simple as that! All you need is those five ingredients for the perfect slime recipe. My favorite part of making slime is the communication and social skills that come with it. Turn taking with ingredients, following directions, waiting, asking, cleaning, practicing science safety, comparing and contrasting our slimes and the list goes on.
I hope you found this recipe helpful. Be sure to checkout my other sped teacher sensory input blogs here!
Happy teaching,
Sofie


